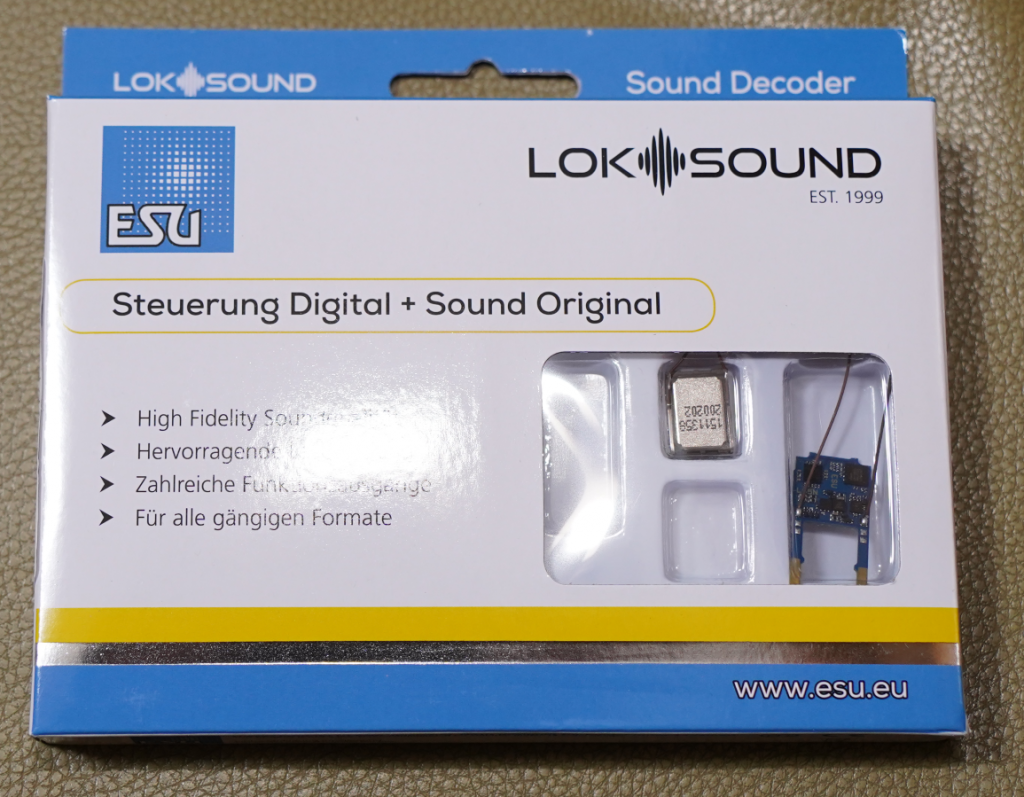
I bought ESU 58731 LokSound5 micro DCC Direct Kato Japan from German model railway shop lippe. I have installed the LokSound5 DCC Friendly decoder to KATO’s N gauge E233.
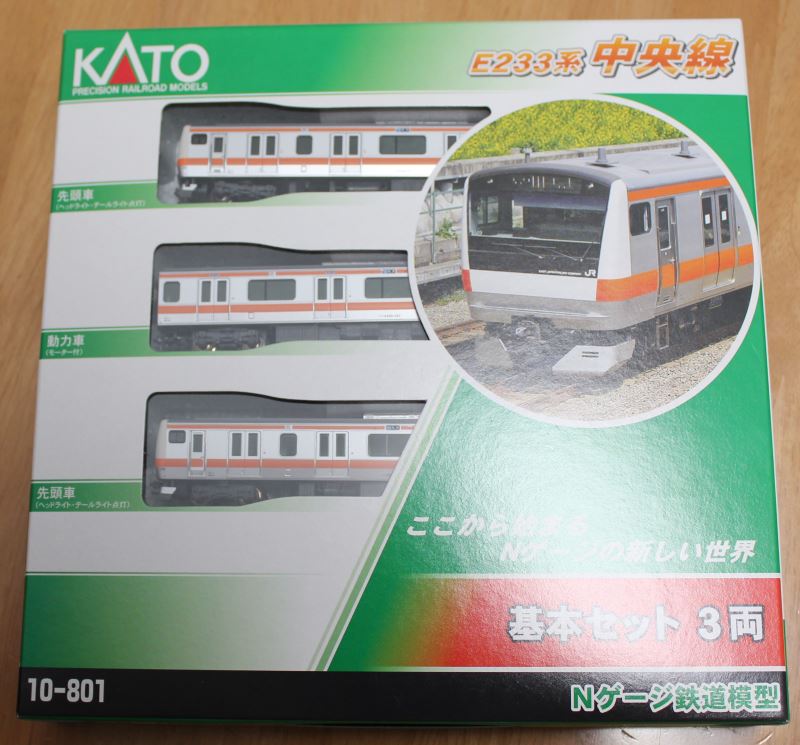
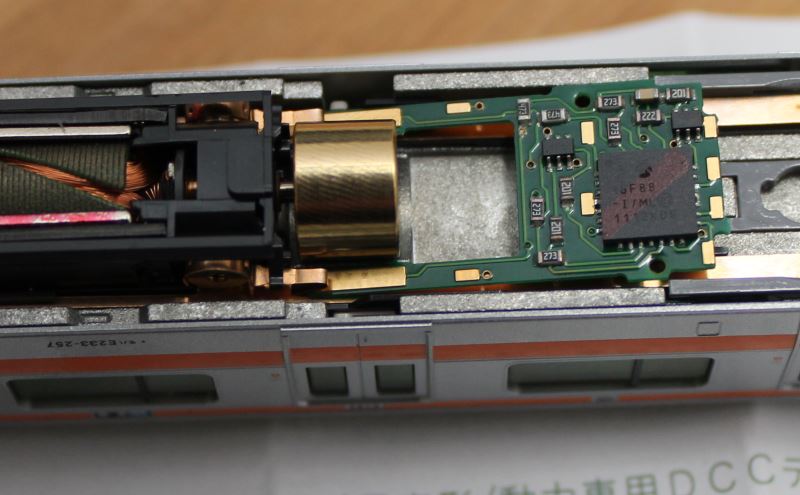
The ESU 58731 LokSound5 micro DCC Direct Kato Japan is the latest version of the DCC sound decoder developed by ESU in Germany, and is a brand new product that was released in February 2021. The main feature of this product is that it supports KATO’s DCC Friendly system, which is a patented system that allows decoders to be easily inserted into N gauge vehicles. There are many models that are DCC friendly, but the KATO website has some omissions, so please refer to the DesktopStation wiki for details. The following image shows the EM13, a DCC friendly decoder without sound that was jointly developed by KATO and Digitrax.
We don’t know the background of the agreement between KATO and ESU (we really don’t know anything about it), but it is the LokSound 5 series version of the DCC friendly decoder, so the Japanese sound data from Open Sound Data, a project for free distribution of Japanese sound data, can be used directly. In other words, it is DCC-friendly. In other words, if your car is DCC friendly, you can use this sound decoder to make DCC sound easily!
So, I decided to install the ESU 58731 LokSound5 micro DCC Direct Kato Japan (long) into a KATO N gauge E233 Chuo line. First of all, I bought the package at lippe, and the price was 84.03 EUR (without German VAT, about 11,000 yen). 82 USD (about 9,000 yen) at EURO LOK SHOP, so if you want to buy something cheaper, EURO LOK SHOP might be better. If you want to buy it at EURO LOK SHOP, it costs 82 USD (about 9,000 Japanese yen).
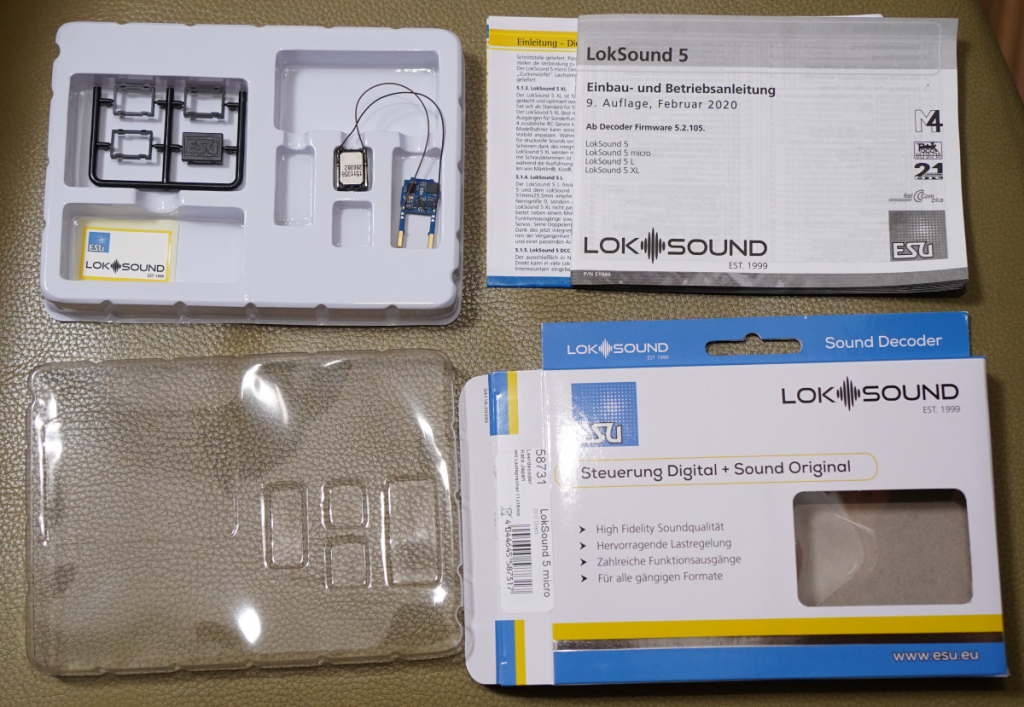
The package contains instructions, enclosure, and speaker soldered decoder.
KATO’s DCC friendly N gauge E233 and ESU 58731 LokSound5 micro DCC Direct Kato Japan decoder side by side.
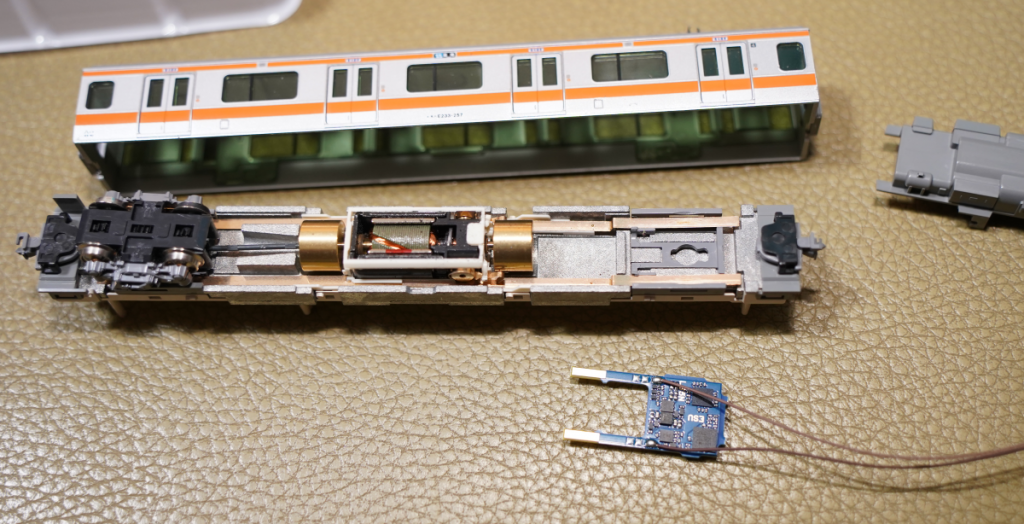
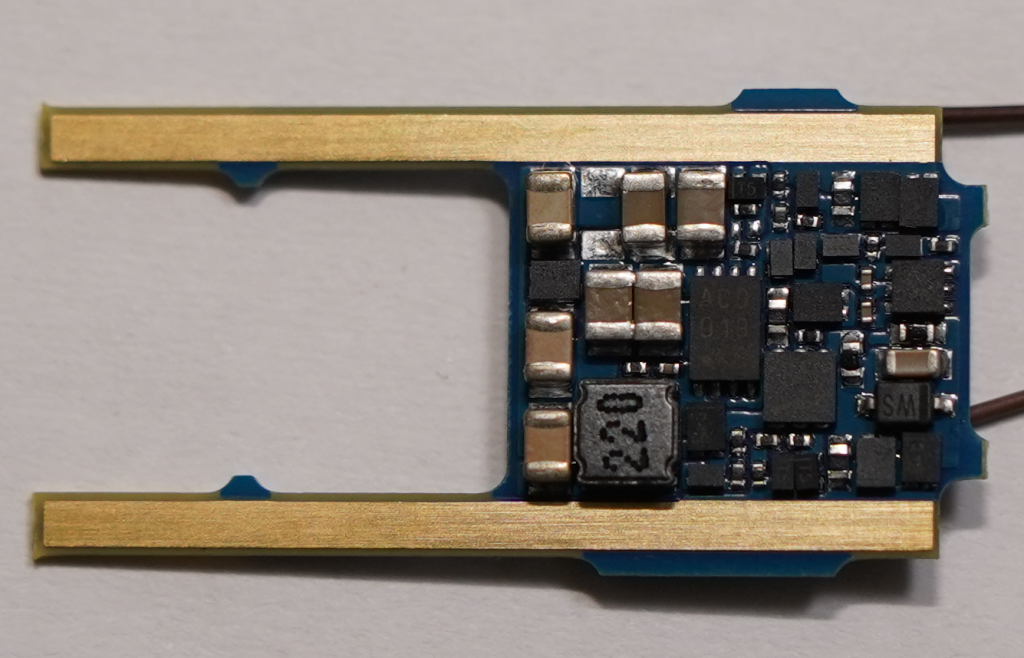
Enlargement of the LokSound5 micro KATO decoder. The coil (inductor) marked 220 and the ceramic capacitor are conspicuous. The speaker is already soldered in place.

The first step is to insulate the die-cast area below the gap where the decoder will be mounted with insulating tape to reduce the risk of some parts of the decoder coming into contact with the die-cast and shorting out. Since the decoder costs 10,000 yen, it is advisable to insulate the parts that may come in contact with it. I think it is essential. There are cases where the decoder does not get hit, but there are also cases where it gets hit and breaks, so there is no harm in doing this. There may be some debate about the die-casting around the decoder, but for safety reasons, it would have been better if it was covered with plastic parts.

Insert the decoder as shown below. Be careful because the decoder has a front and back. The front is the one with the shorter pad (gold part), which is the tip of the beetle-like horn that makes contact with the motor part. It just touches the pins of the motor, so check the contact there as well. It is possible to replace the decoder with an assembly part, but it will be a hassle to find it at a hobby shop, so be sure to insert the decoder carefully.
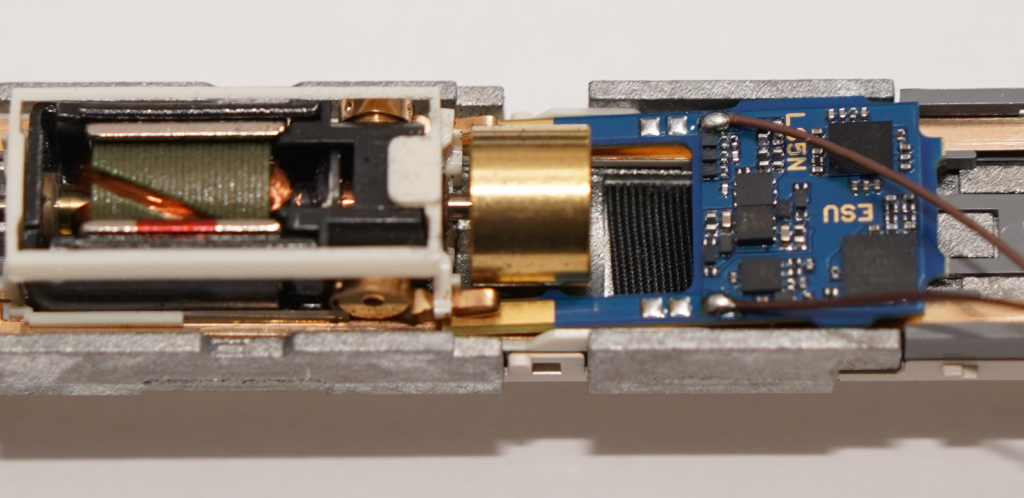
This is what it looks like after the decoder is inserted into the N gauge vehicle E233.
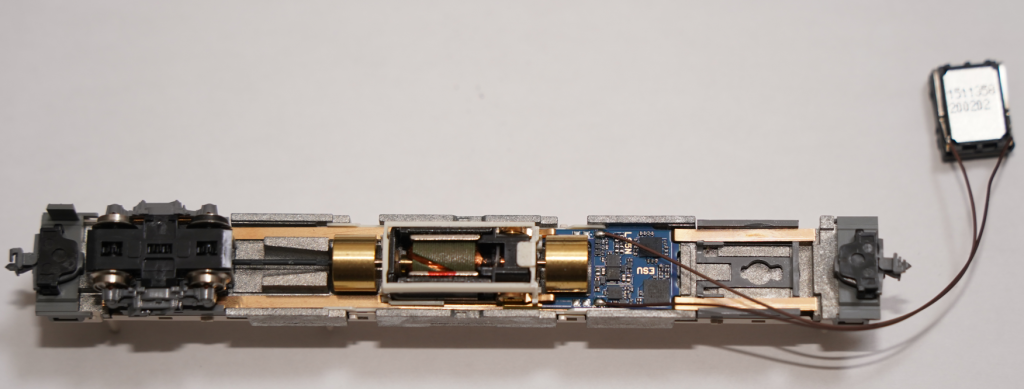
Reattach the wheel.

The next step is to assemble the speaker enclosure; in the case of the E233, we cut out the enclosure components so that the thickness is as follows.
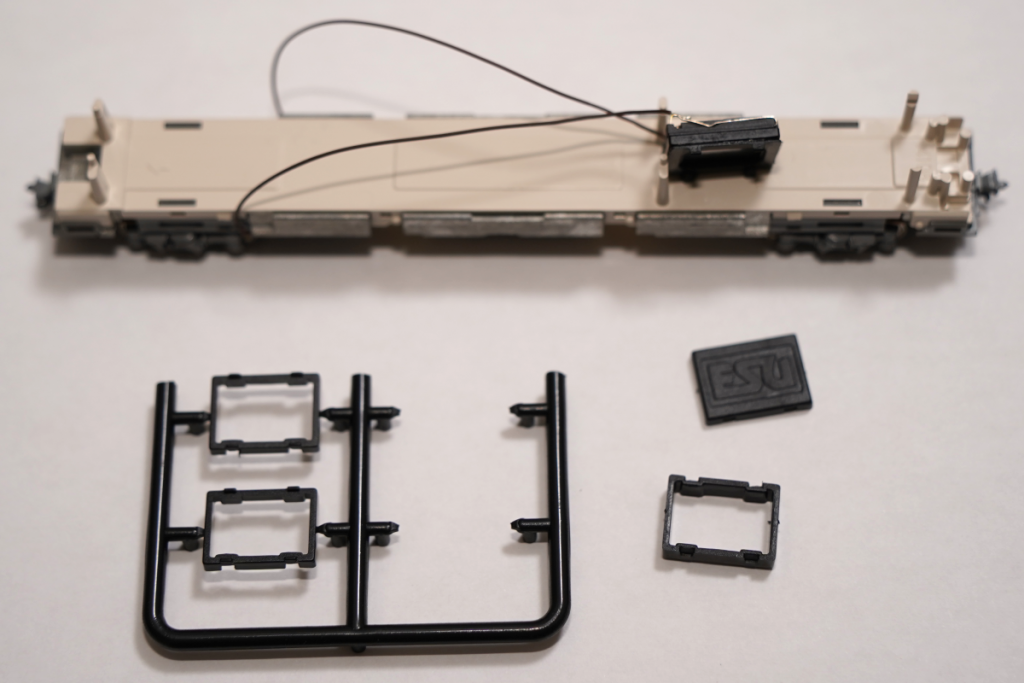
There are many ways to glue the enclosure, but I used Tamiya Cement Fast Dry. Any gaps will prevent the sound from coming out properly, so be sure to pour the glue firmly into the gaps in the enclosure clogs to seal them.

Once the enclosure is assembled and glued, it’s time to route the speaker wires into the cabin. It is best to use the gap where the plastic parts of the cover that hides the decoder under the floor are fixed. Some vehicles may be tighter than others, so you may need to adjust the routing depending on the situation.
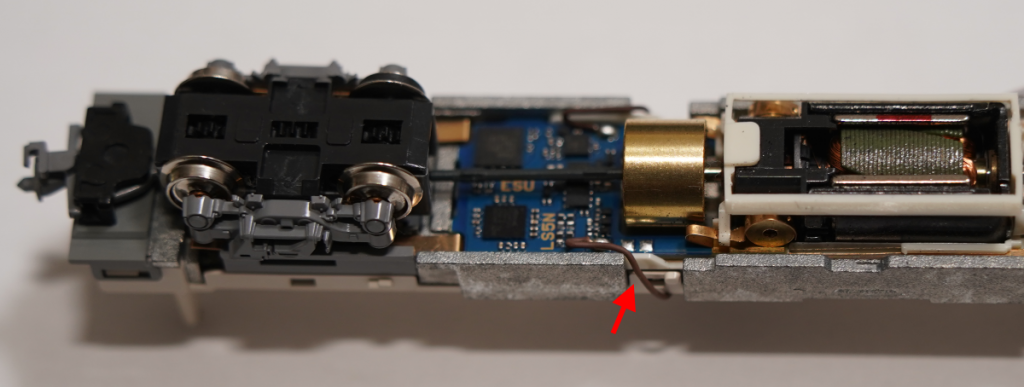
The speaker wiring should make good use of the gaps to enter the cabin, as shown below.

In the rooms, the speakers are placed as follows. Please adjust the position by yourself.

Here’s a shot of the cover in place.

Completed installation.

The LokSound5 decoder has a mysterious diesel sound in it by default. Here’s a shot of it in action, with CV reading and writing done successfully.
So, we have successfully installed a DCC-friendly sound decoder. I would like to welcome the fact that we now have an environment where we can easily enjoy Japanese-style sound.


